Initialization
This document assumes familiarity with napari.
Starting napari-imagej
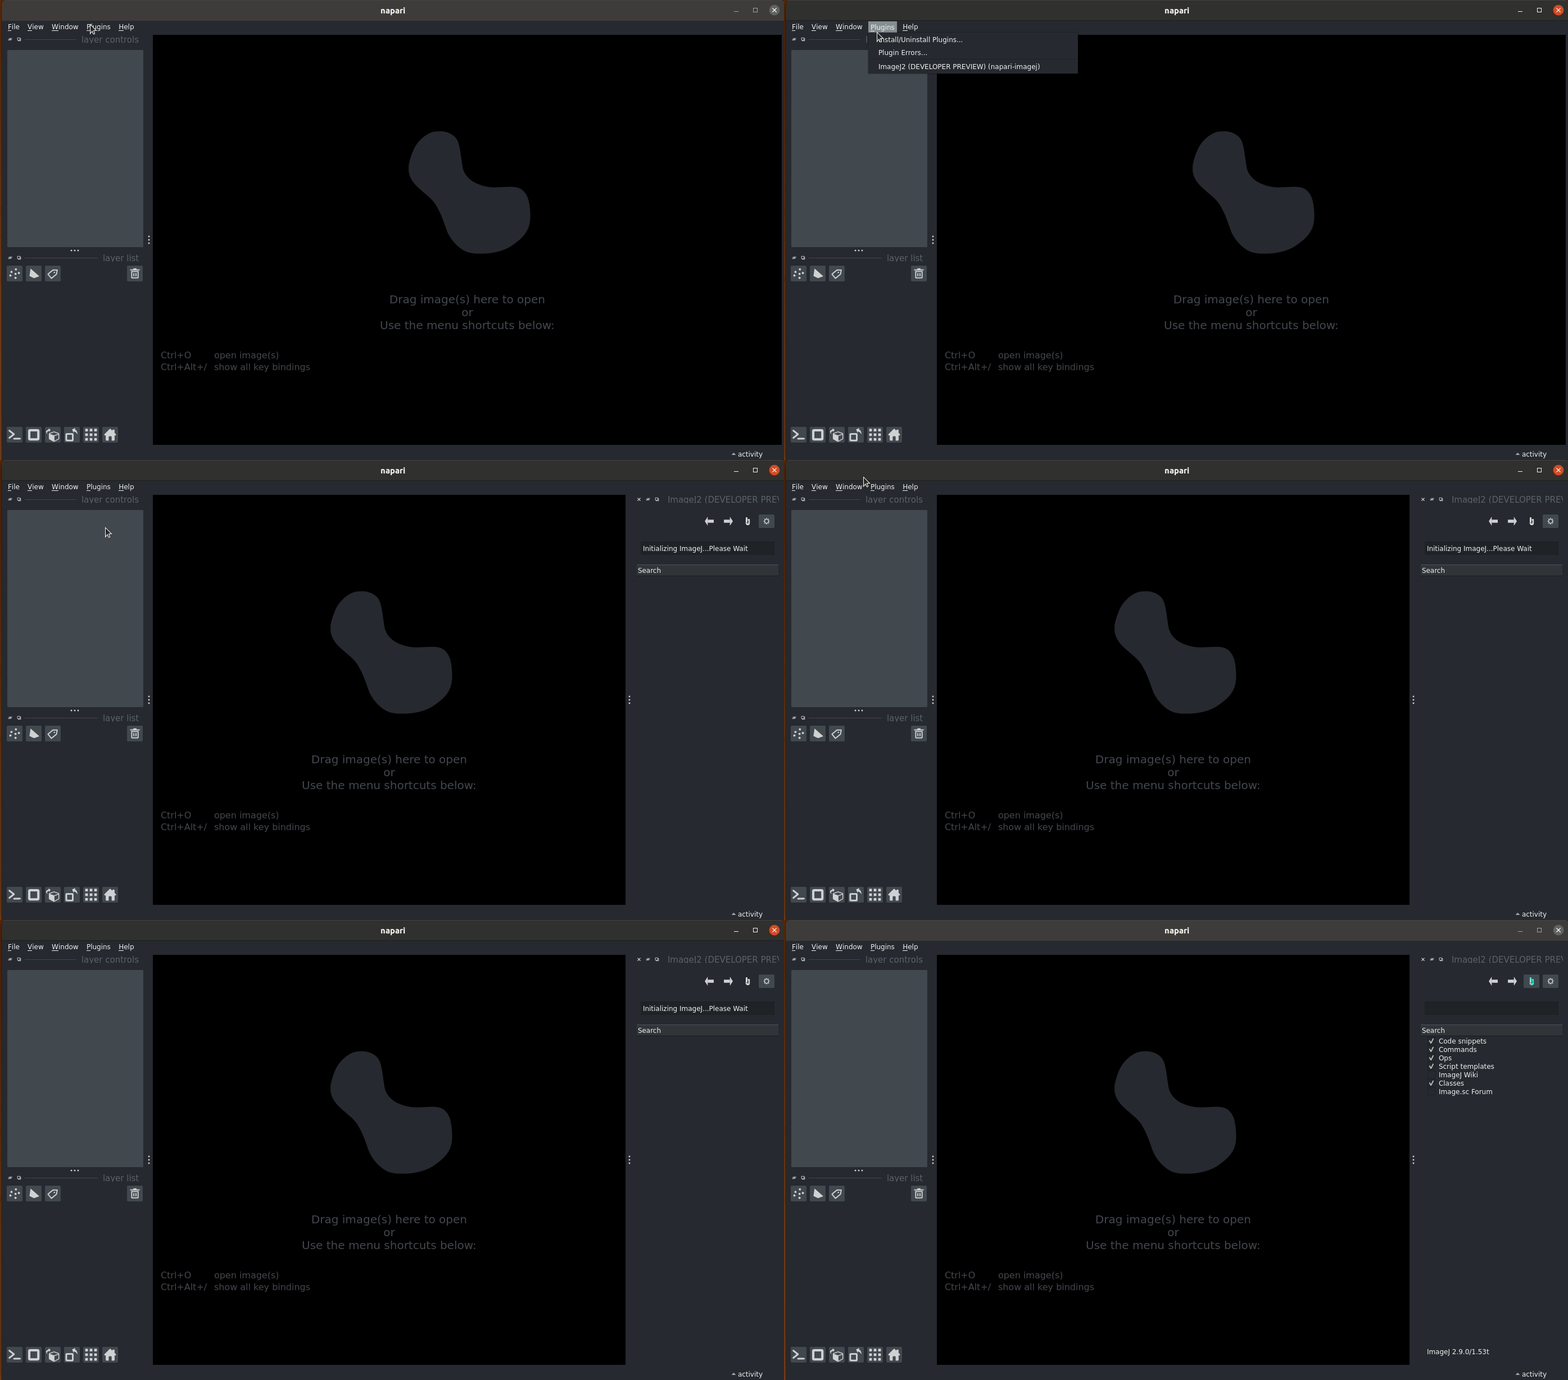
With napari running, napari-imagej can be found through Plugins->ImageJ2 (napari-imagej). If you don’t see this menu option, return to the
installation guide and ensure you are launching napari from a python environment with the napari-imagej plugin installed. If you’re still having trouble, please see the troubleshooting section.
Once triggered, napari-imagej will start up the JVM, and then the ImageJ2 gateway. This setup can take a few seconds, and is complete when the napari-imagej searchbar is cleared and enabled.
On the first initialization, napari-imagej must download an ImageJ2 distribution. This download can take minutes, depdending on the user’s bandwidth.

Once napari-imagej is fully initilized, you can see the Use Cases page for examples of available functionality. Alternatively, if you’re new to ImageJ, you may want to start with a high-level overview.
Note: napari-imagej always downloads the latest version of ImageJ2, along with classic ImageJ functionality. To launch a different ImageJ2 distribution, such as Fiji, please see the Configuration page
Starting the ImageJ GUI
While all ImageJ2 functionality should be accessible direclty through the napari-imagej widget, many original ImageJ functions require the ImageJ graphical user interface (GUI) to be visible.
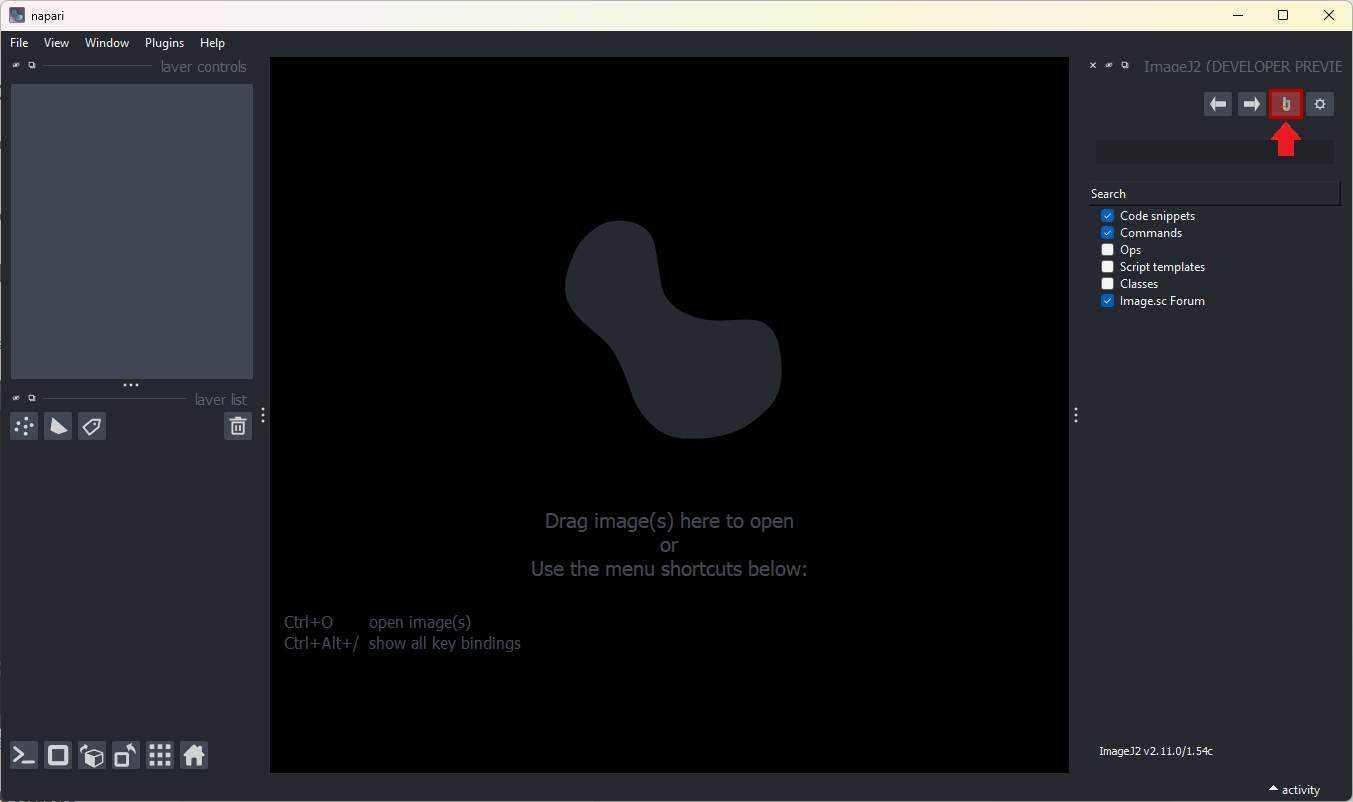
If you try to run one of these commands through the napari-imagej search bar you will receive a message indicating the GUI is required, with an option to show it. Alternatively, at any point you can launch the ImageJ GUI via the GUI button in the napari-imagej menu.

The GUI is launched through the ImageJ button on the napari-imagej menu
If your ImageJ GUI button is greyed out, see the troubleshooting section.